
You can fabricate an opto-isolator using components from the scrap bin. This may be useful in special circumstances or when you need an opto-isolator in a hurry but don’t have one to hand.
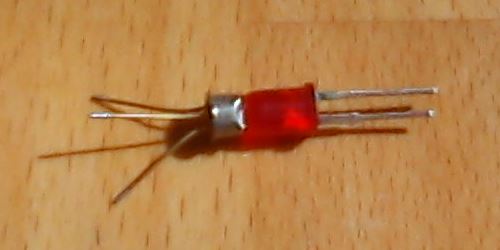
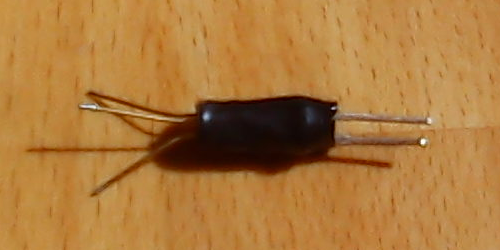
All transistors exhibit the photo-transistor effect and are packaged in opaque material to prevent stray light interfering with their operation in circuit. It is possible to remove the top from the metal can packages to expose the transistor chip. By closely coupling an LED as shown in Figure 1 it is possible to improvise an opto-isolator. The current transfer ratio (the ratio of the transistor current to that of the LED) might not be too good but it may be adequate in certain applications or with modification.

Increasing the opto-isolator current transfer

By adding a second transistor to form a Darlington pair the current transfer ratio can be improved – by approximately the current gain of the second transistor.
Be aware of two problems with this approach:
- The collector-emitter voltage drop will be at least 2 × 0.7 V as there are now two base-emitter junctions in the Q1 bias path.
- The high-frequency response will be affected as there is a second delay in the circuit.


